


What are Azure Automation Accounts?
Azure provides a resource called Automation accounts to allow administrators to perform operational tasks using “runbooks” which can be used in wide range of different content types such as PowerShell or Python. It provides a centralised place for administrators to complete tasks that are performed on a regular or semi-regular basis and can even be configured to run on set schedules created by administration teams.
Why would I need one?
I had run into a situation where Logic App workflows were left enabled in lower environments. To save costs for subscription holders, I wanted to find an easy way to ensure the workflows would be disabled when not in use. Automation accounts are very useful for scheduling and running tasks that need to happen on a regular basis or ad-hoc occasionally. One use case I found useful is turning off Logic App workflows in a resource group during patching windows. This ensured that endpoints were not queried while they are unavailable. Another example is assigning D365 licenses to team members in hourly recurrences as they are provisioned rather than a batch process.
How can I create one?
You can create automation accounts both manually and programmatically using Bicep. You can create and maintain them manually through the portal which is the easiest way to implement and would be the best option for the fastest turnaround. You can also create them programmatically using Bicep which I will cover in my next blog. For this example, I will be covering this simple method of creating and running automation accounts through the portal.
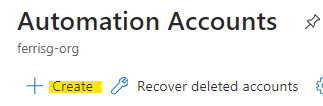
Create through Portal:
- Create a new automation account:
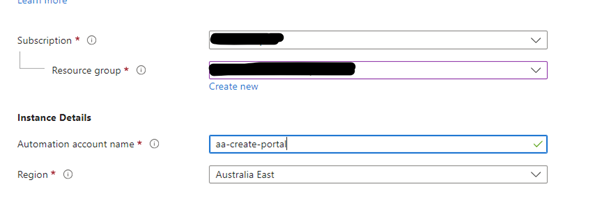
- Fill out details
- Subscription
- Resource group
- Automation account
- Region
- Identity type: In this example we will use System assigned but User assigned is possible
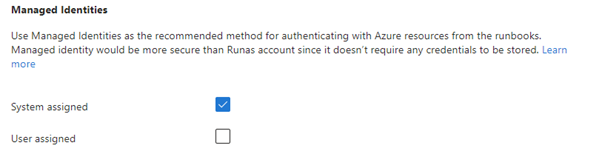
- Any networking required as part of the implementation – For ease of this example we will be using Public access

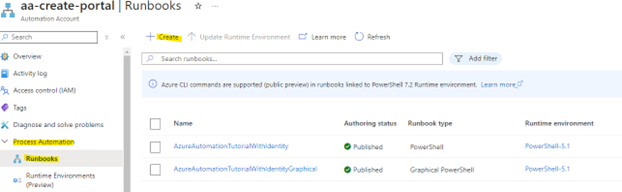
- Once completed you can navigate to the Automation account and click on Runbooks under the Process Automation drop-on menu. You should see some example runbooks provided by Microsoft. We can create a new blank workbook using the Create button
- We can create the Runbook for various sources
- Runbook source (required)
- Create New – A new blank workbook
- From File – Can upload a File such as PS script or Python script
- From Gallery – From a trusted source such as GitHub or PowerShell Gallery
- Display name of Runbook (required)
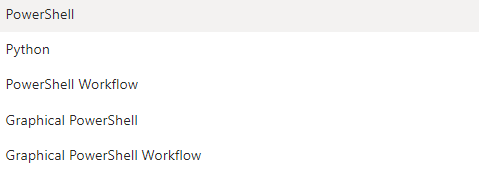
- Runbook Type – supported runbook types (required)
- After selecting type you will need to select a runtime environment – We will use out of the box PowerShell 7.2 (note you can create custom environments that I will cover in next blog)
- Description: The description for the runbook (optional)
- Runbook source (required)
- Create the runbook


You will then be navigated to the created runbook – You can enter the runbook script content. Note the save and publish buttons. Save will save the runbook as a draft which can be returned to later. Publish will publish the runbook so it will be executed.

Conclusion
If the goal is to create a runbook quickly, creating one through the portal is the easiest way to get things up and running. If you are seeking a method to deploy multiple different Automation Accounts and runtime environments.. Stay tuned for my next blog post where I will go through the automated Bicep deployment!
Some of the items the deployment will include are:
- Azure DevOps source controls integration for changes to a script in an Azure DevOps repository using a Person Access Token (PAT)
- The newly public preview features setting up a custom runtime environment which imports custom modules from PowerShell gallery.
- RBAC assignments using parameter files to assign permissions to allow the manipulation of Logic Apps in a resource group to be enabled and disabled.